Shenanigans?
The internet is overflowing with impressive life changing hacks, but when attempted so many reveal themselves to be nothing more than shenanigans. These too-good-to-be-true projects are all over websites like Pintrest, and that’s just where I found this.
The ‘pin’ claimed it was possible to build a $1 projector for your phone. I had a dollar and a little time so I gave it a try.
As it turns out, you really can build a projector for your phone, but not for a dollar. “Big Projector” has nothing to fear from this one. The finished build does project, but the quality is… well, let’s just remember the old adage – you get what you pay for.
Build It Yourself
Making the projector is ridiculously easy. You can have one in about 5min. It will actually take me longer to write about it than it did to make it. Here’s the plan:
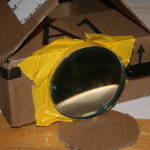
- Box
- Lens
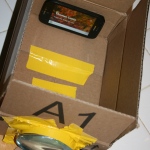
- Inside
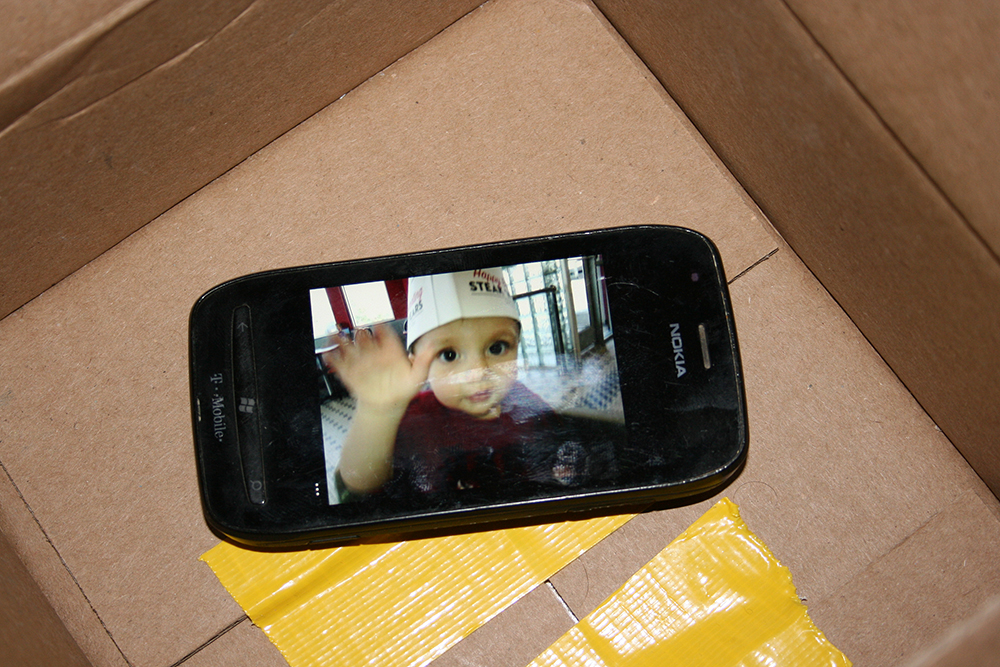
- Looking Inside
Step 1: Trace Your Magnifying Glass
Trace the magnifying glass at the center of the short side of you box.
Step 2: Cut the Circle
Just cut out circle to make a hole for the Magnifying glass.
Step 3: Attach the Magnifying Glass
Line up the lens of your magnifying glass with the hole. Secure the glass to the box with tape. Be sure to tape all the around the glass.
Step 4: Make a Phone Stand
You can see a tutorial here: tutorial for making a stand for your phone from a paper clip.
Step 5: Check Your Settings
Be sure your screen brightness is set at full. If you can lock the scree orientation you should. Images on your phone will exit the projector upside down. So, if you can start upside-down, you’ll get right-side-up.
Step 6: Image and Focus
To get the best image, you’ll need to eliminate ALL light from the room.
Focus is adjusted by moving the phone inside the box.
Results
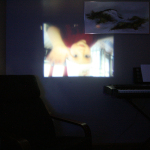
The DIY phone projector works, but not well. The picture below showing the projected image was the result of a long exposer taken with my Canon DSLR. Despite its low quality, it was a fun project. I’ll certainly repeat this one with the boys when they are old enough to understand a little of the science behind it.
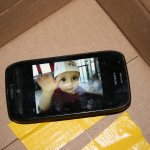
- Image of phone
- Projected Image

